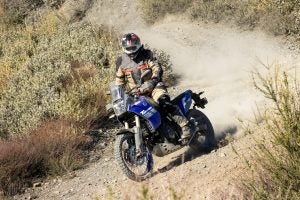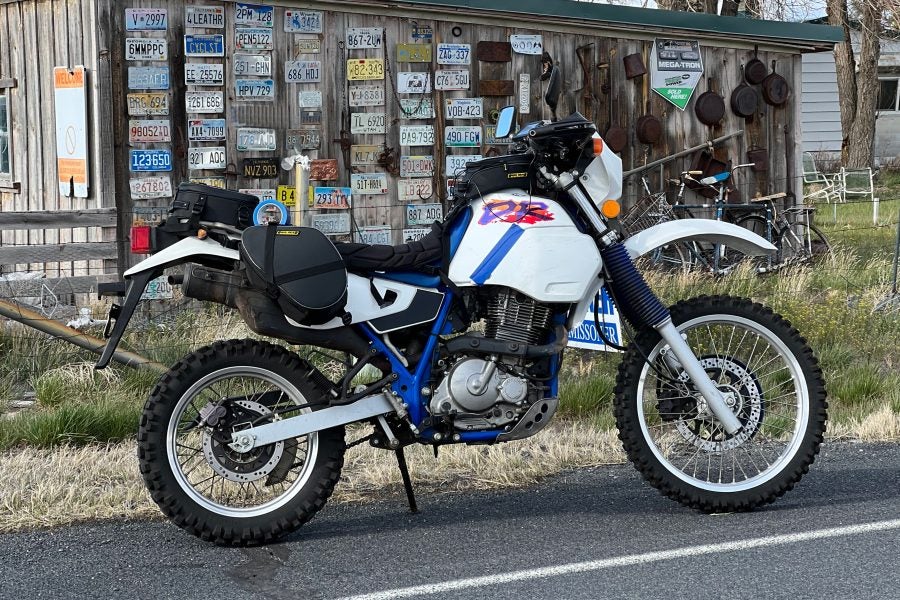
My ancient saddlebags that I’ve been using for years on my Suzuki DR650 had reached retirement age (and condition), with numerous holes, tears, missing zipper pulls and melted spots from exhaust heat, and I had a trip coming up, so it was time for an upgrade. Thanks for the years of service, Generic Motorcycle Saddlebags.
Some trash bags and zip ties would probably qualify as an upgrade to be honest, and would likely be more within my meager budget as well, but a riding friend said he had good luck with some reasonably priced bits from Nelson-Rigg, so I paged through their site and settled on a triplet of soft carry-alls: the RG-020 Trails End Dual Sport Saddlebags ($149,95), RG-1050-L Trails End Lite Tail Bag ($130.46 at Revzilla) and the RG-1040 Trails End Lite Tank Bag ($79.95).
I like to travel pretty light on the DR, and the Trails End setup fits that MO. I also typically wear a backpack while strapping my tent and sleeping bag on the back, sometimes wrapped in a heavy-duty garbage bag for waterproofing. Hey, whatever works, right?
Setting up the Trails End soft bags
Like any practiced adventure tourer, I set aside time several days in advance to carefully install the bags on my bike and make a curated packing list of what I’d need for my trip. I then carefully packed everything neatly in the bags, while relaxing with a frosty beverage and playing old Jethro Tull tunes on my garage boombox, right? WRONG.
Running the straps over the seat? Easy. Running and adjusting the front and rear positioning straps under the seat to lock them in place? Less easy. Photo: Bill Roberson
Like most people with families, way too much work to do and attention-starved Australian Shepherds, I waited until the morning of the ride to hastily find (almost) everything to bring, stuffed it into the bags and then tried to get it all set up, thinking it would be just like my old bags: fill ’em up, throw ’em on, strap ’em down and hit the dusty trail (or in this case, the rainy highway). Even the instructional videos and install PDFs made it look easy peasy. Wrong again.
It’s not that the Nelson-Rigg bags are complex or difficult to install, it’s just that to make the saddle bags work best with the Suzuki’s seat eventually required removing the seat, then carefully sussing out where some of the straps would best cross without interfering with the seat fitting cleanly back on the frame rails while also allowing the straps to be tightened. Also, getting the tank bag to actually stay in place on the slick surface of the stock metal Suzuki gas tank proved difficult. The tail pack went on in a few minutes with no complications and always stayed put.
Fortunately, Nelson-Rigg’s instructions and videos were indeed helpful and they include a number of straps with each product to really dial things in, but it still took me the better part of an hour to really get the bags properly place and cinched down to where I felt they would not move around, especially once I hit the off-road section of my journey to central Oregon’s vast off-road riding playgrounds.
Features
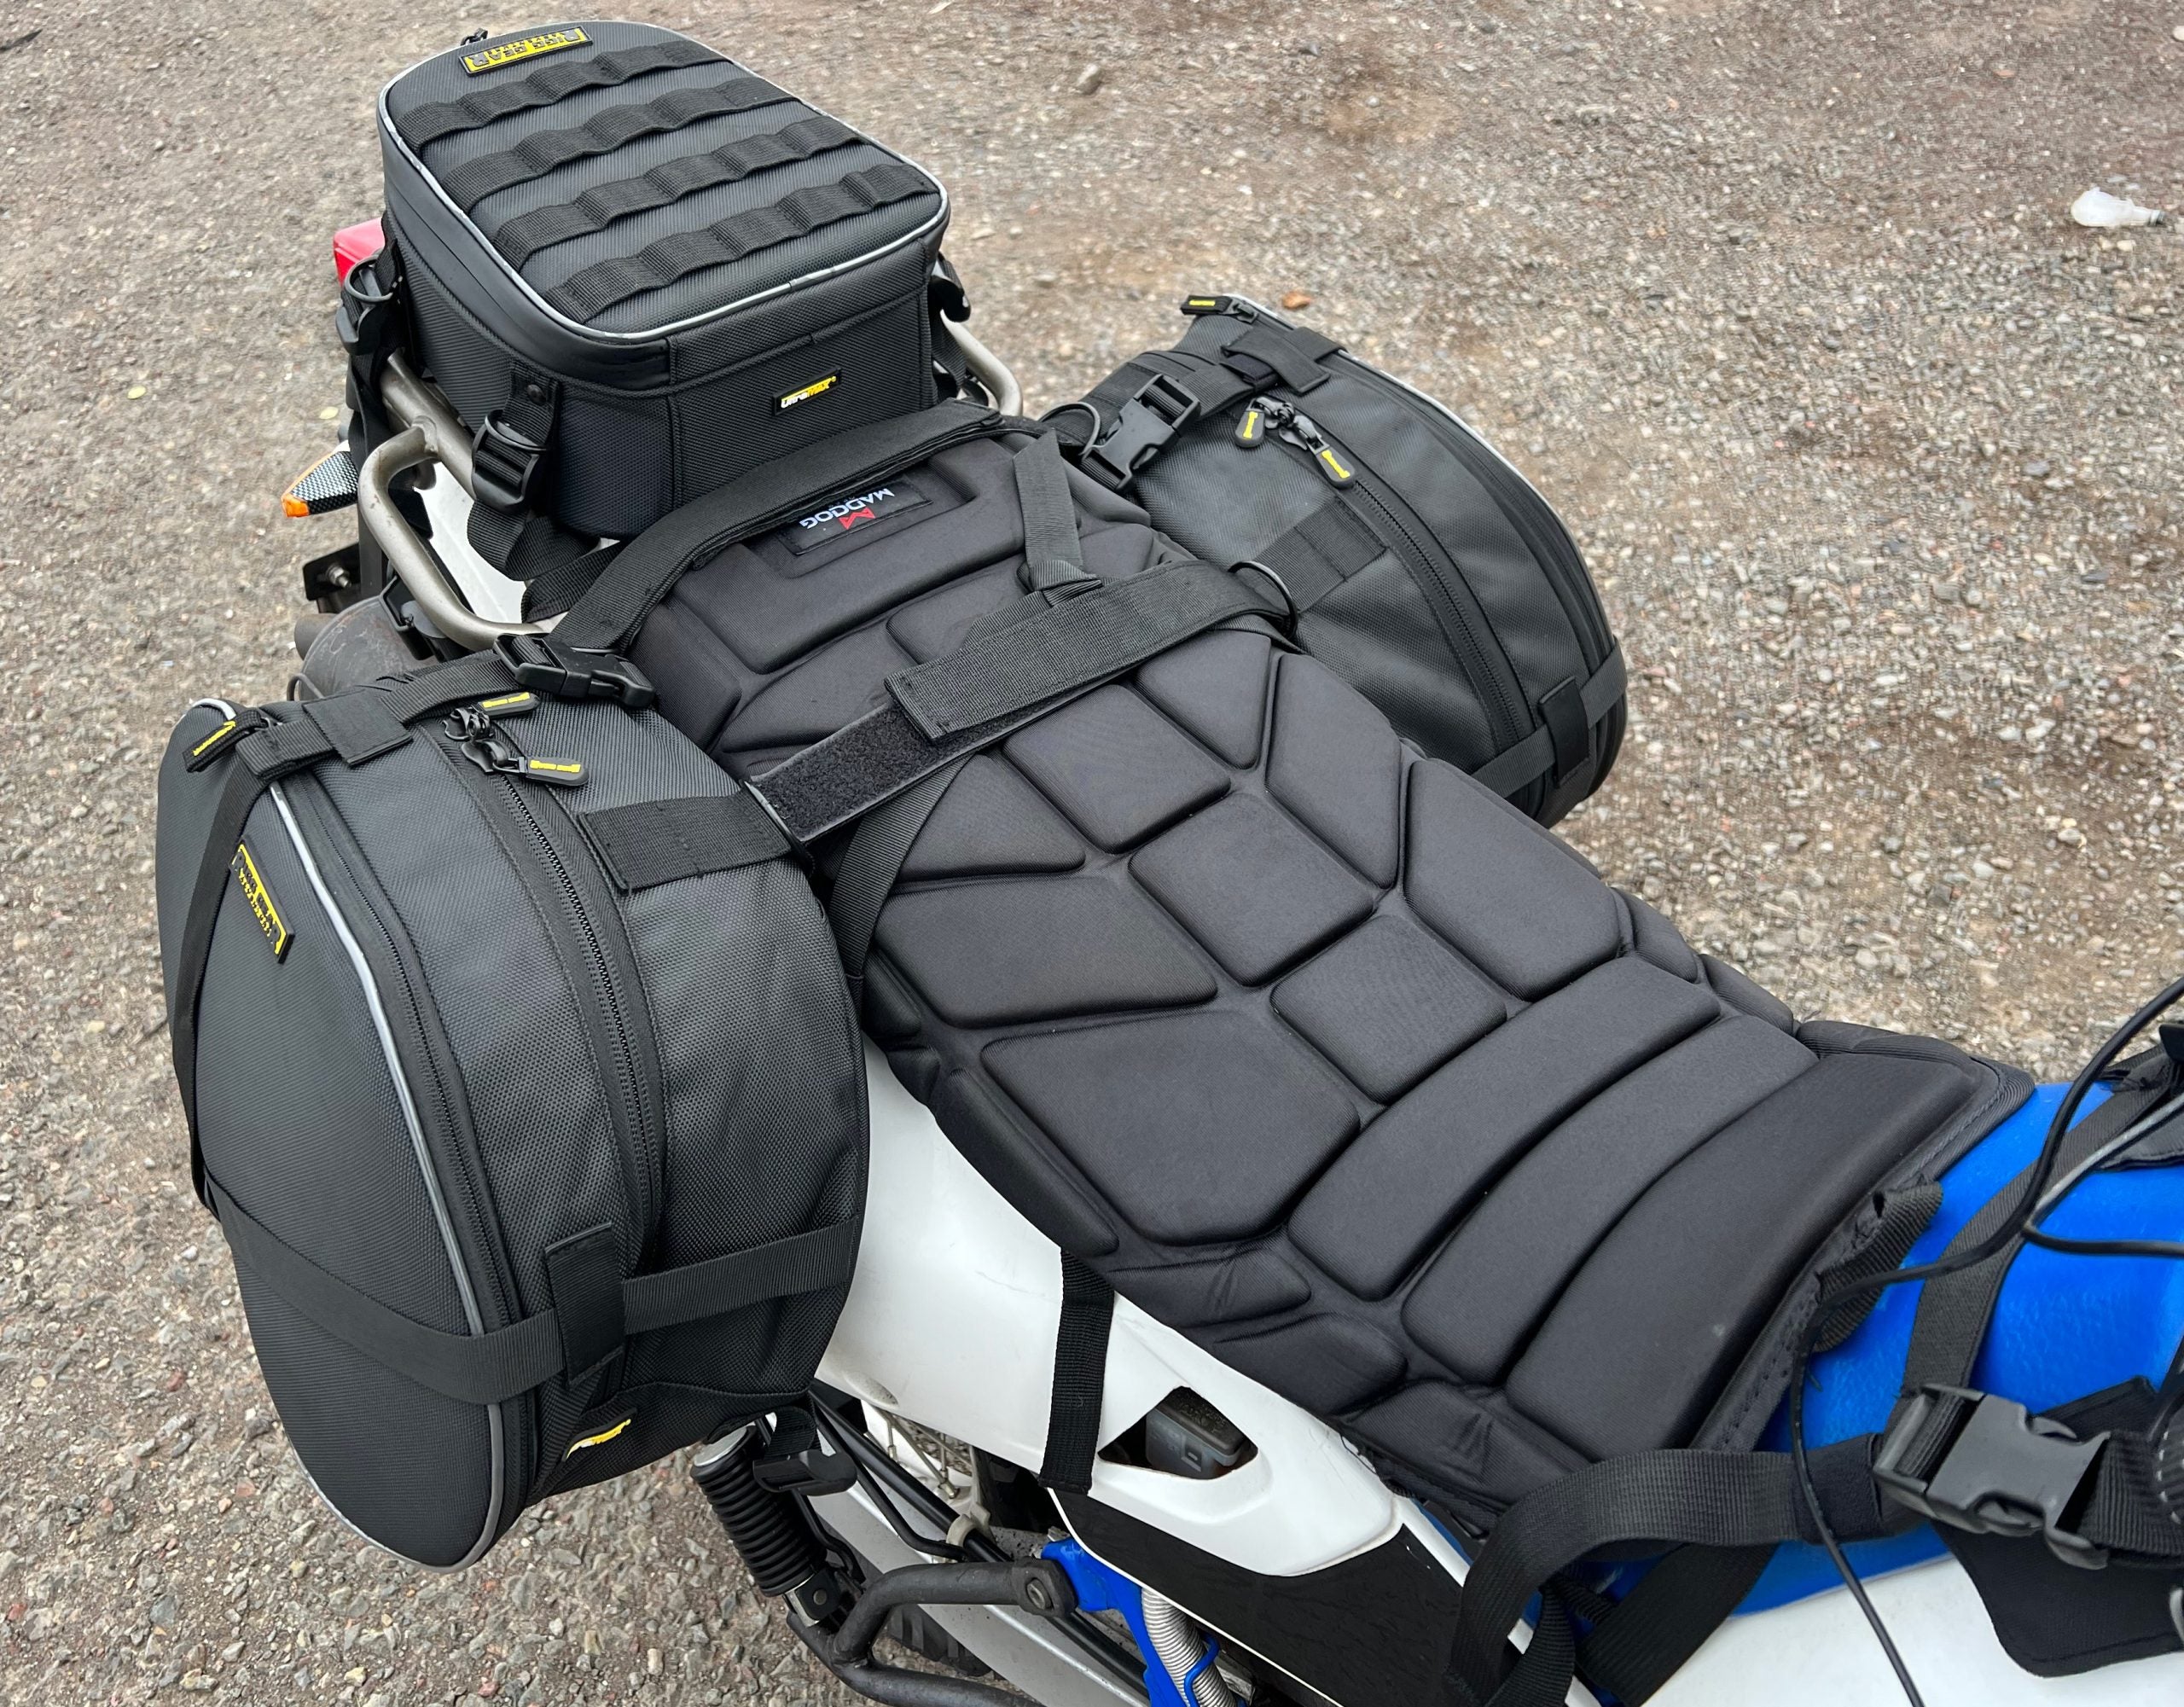
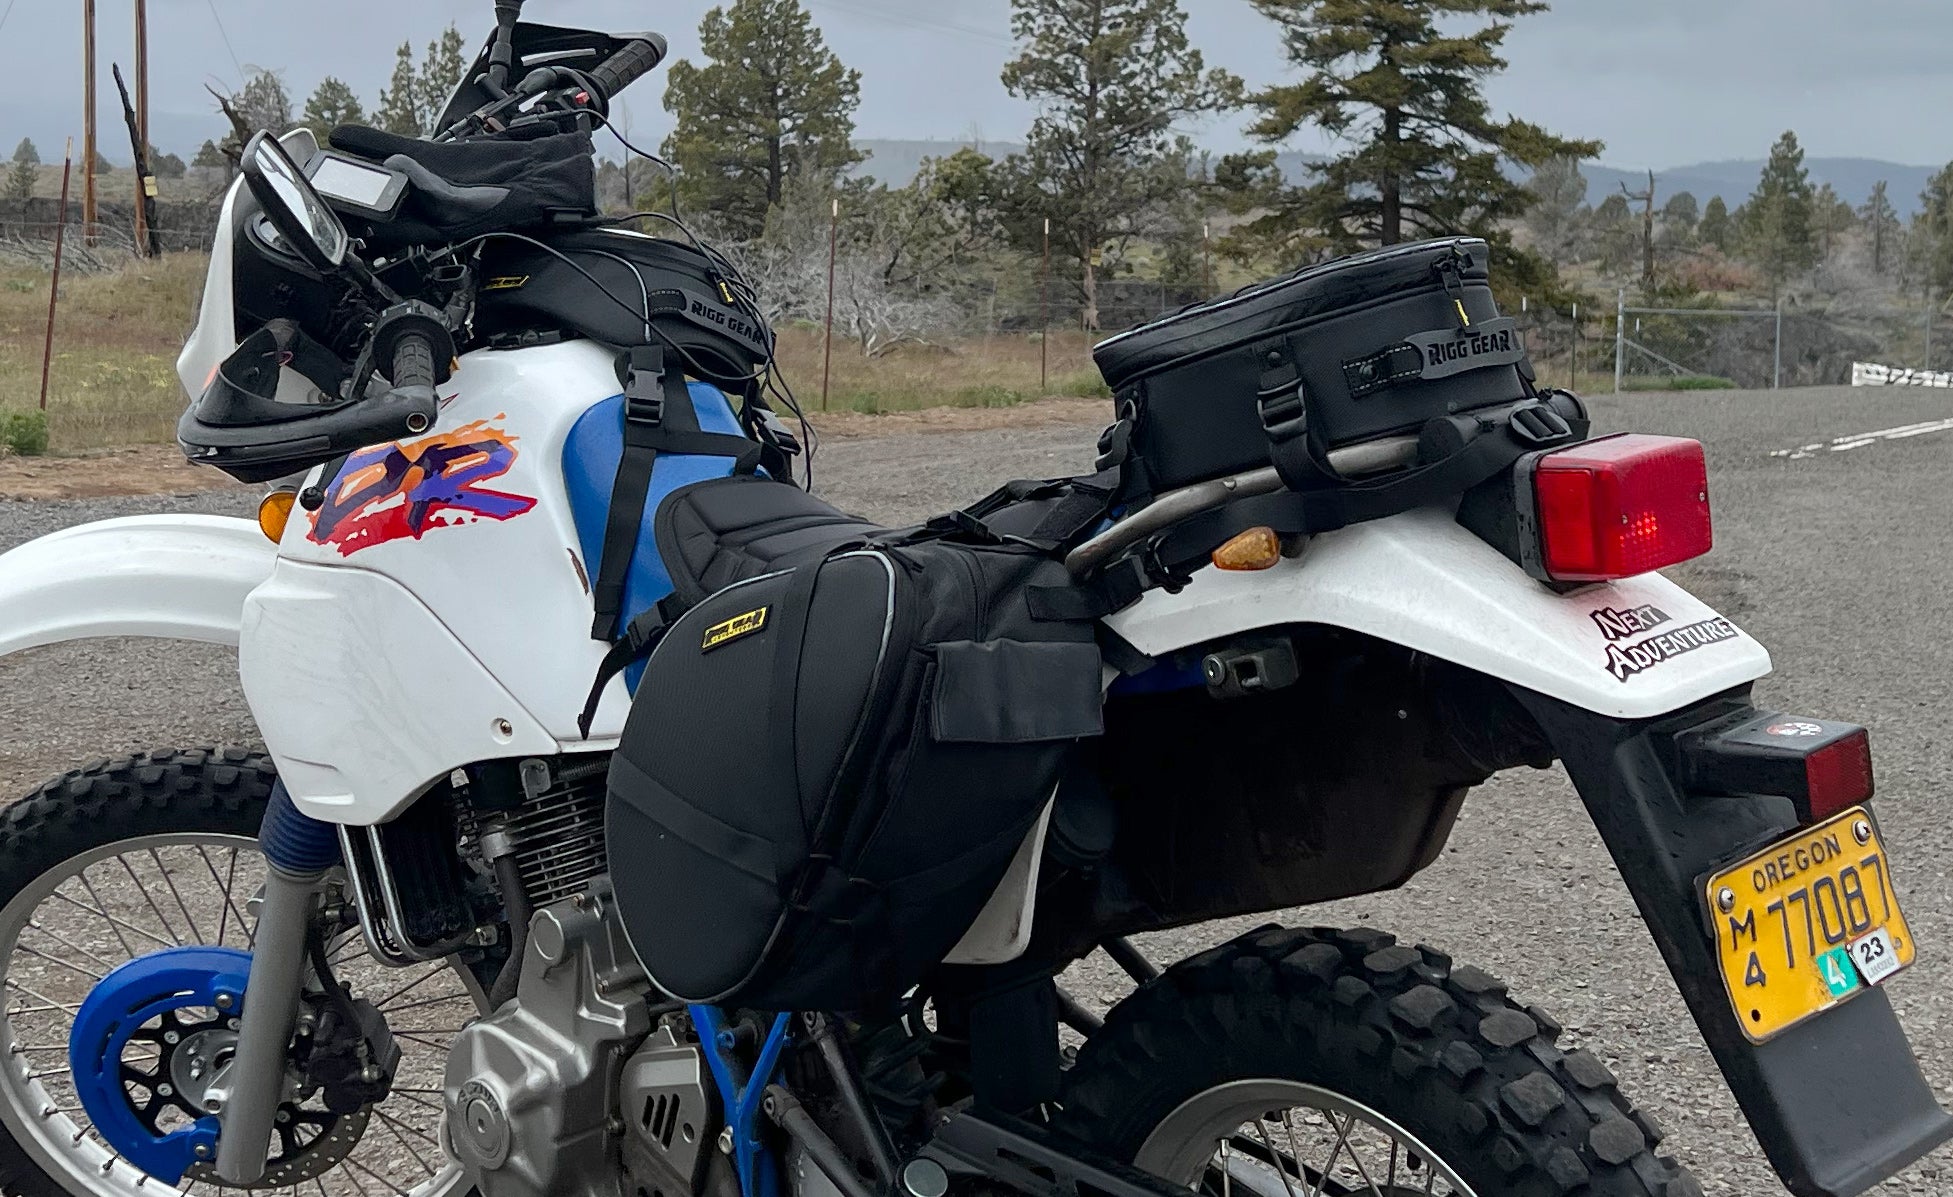
The rear triplet of bags is light but holds a lot of gear. Photo: Bill Roberson
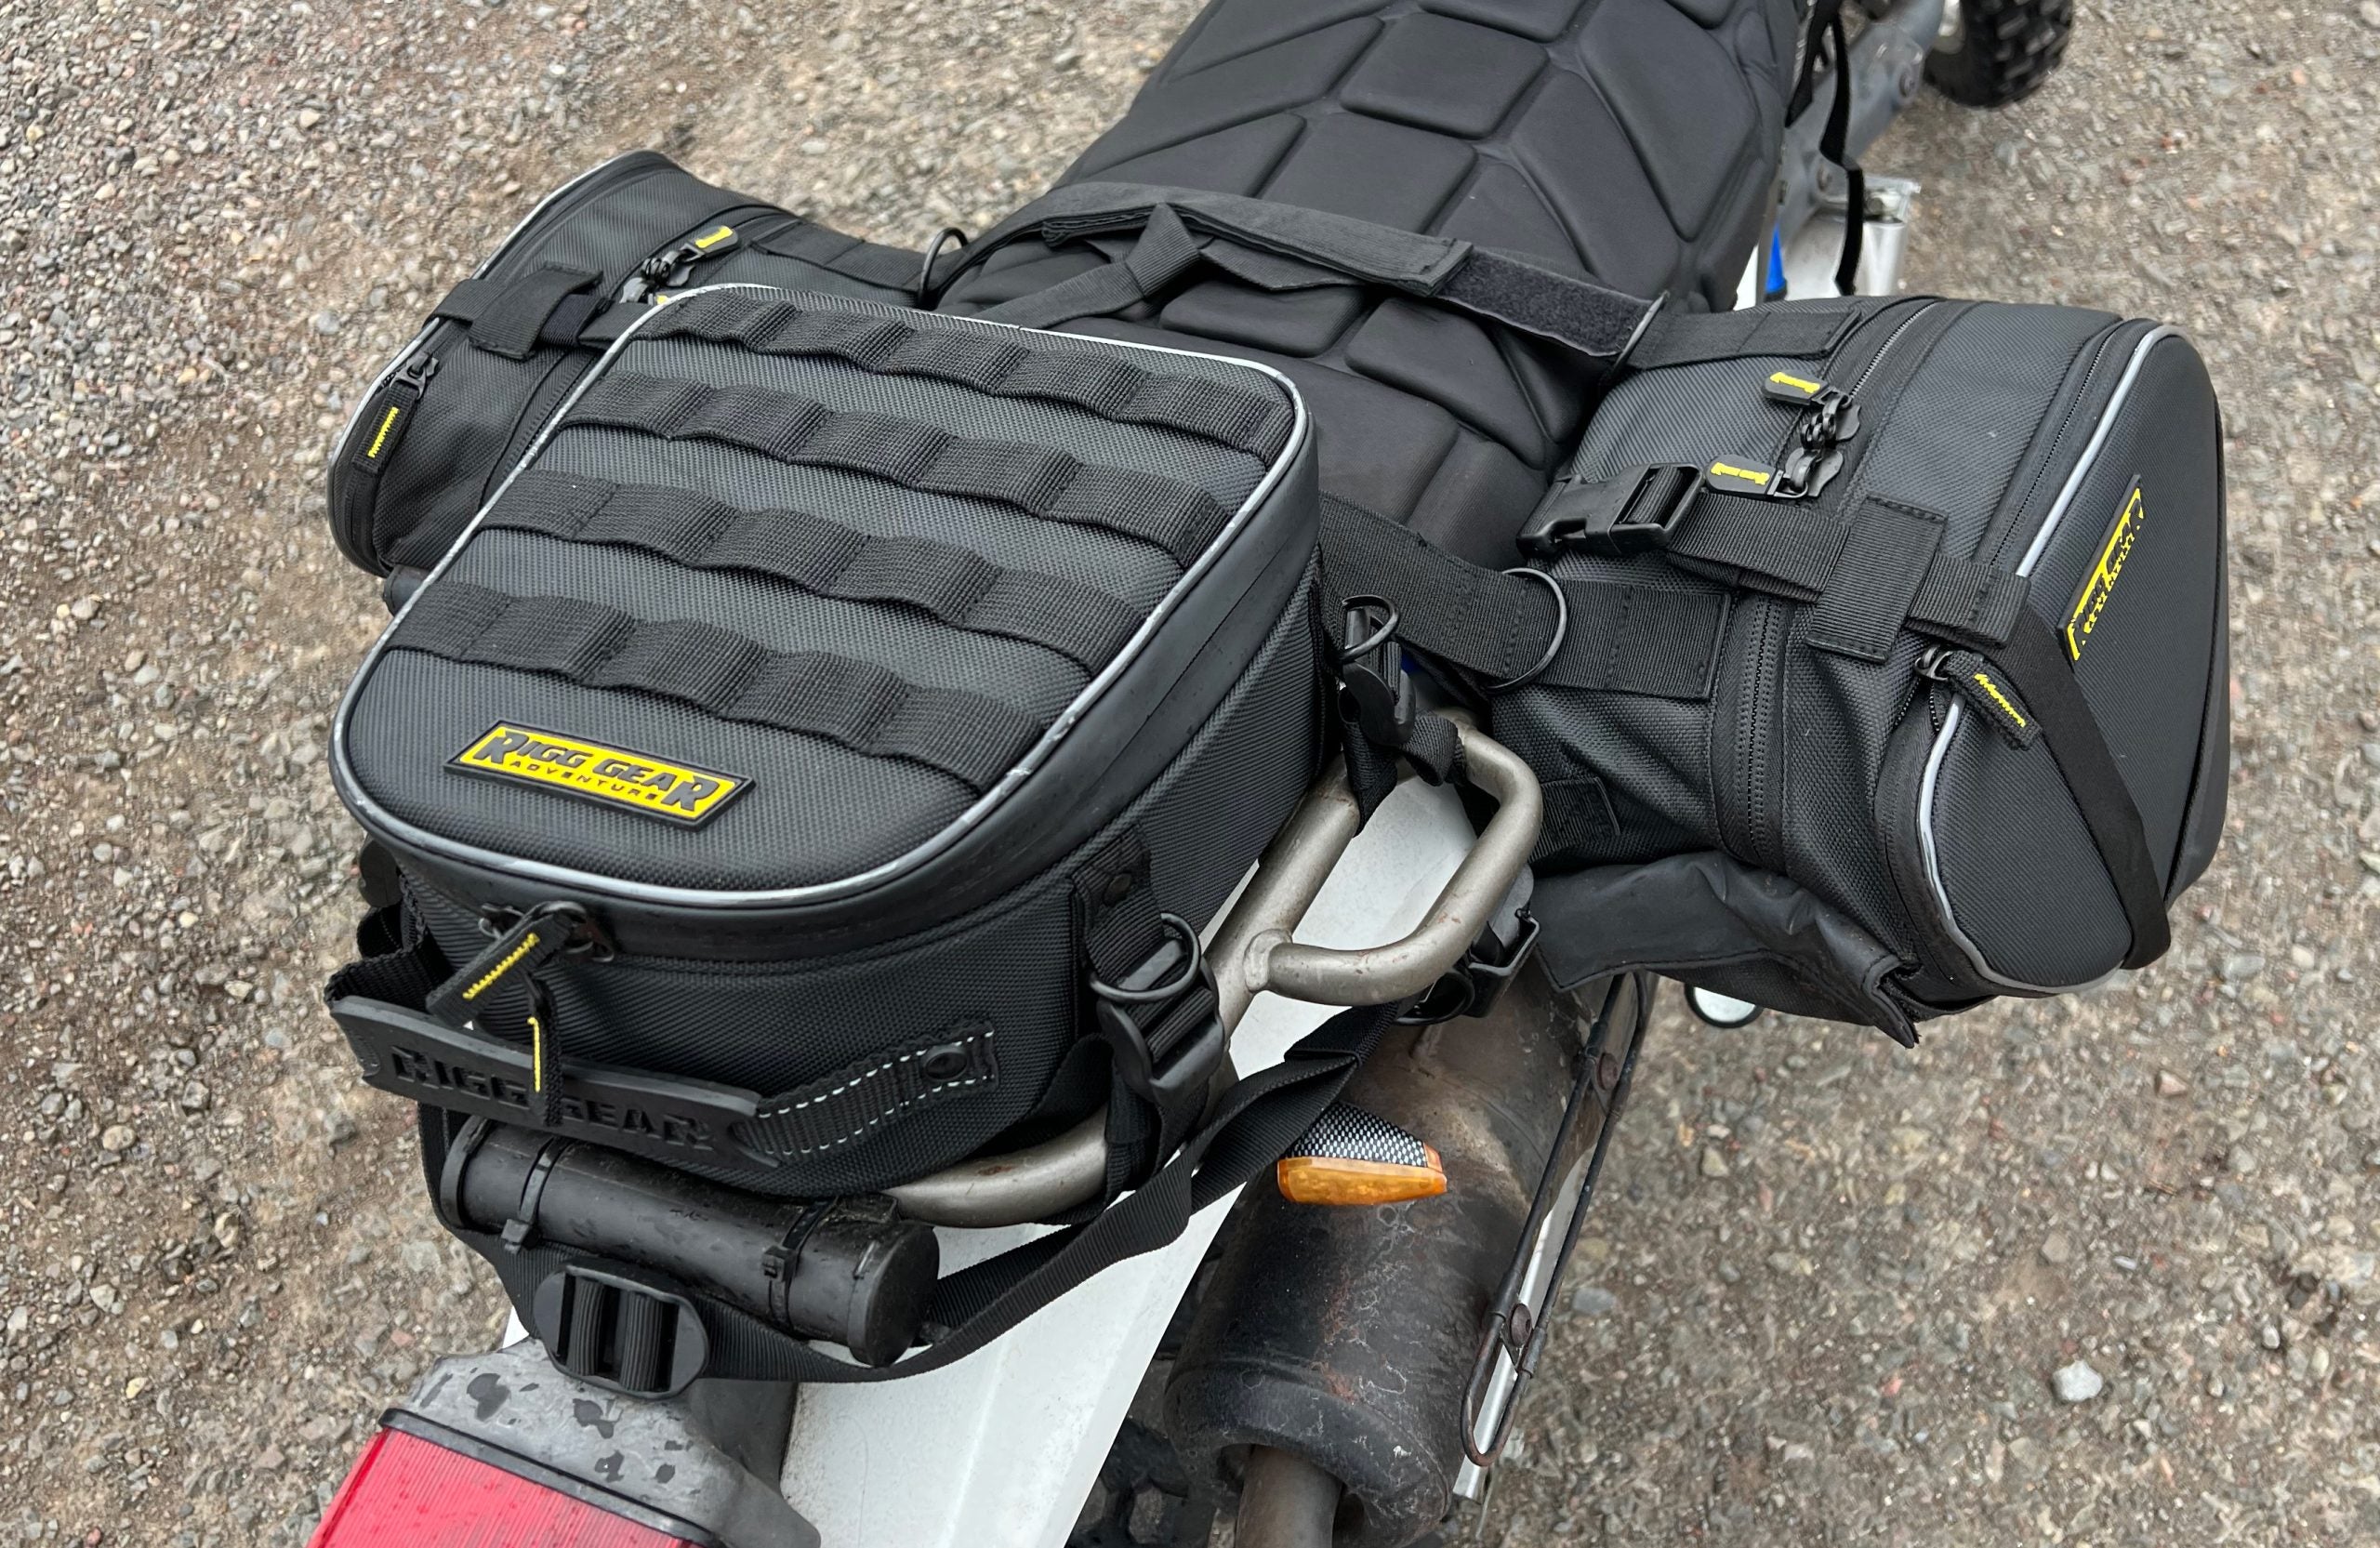
The Trails End bags are pretty straightforward as far as design and function. The saddlebags are made from a stout “UltraMax” textile fabric and shaped to hug the DR’s side panels while avoiding the right side exhaust exit area. Both bags are equal in size and expansion zippers let you stuff in another 3 liters of stuff beyond their standard 12-liter capacity (per bag). Long, slim pockets with large Velcro closures on the bottom of the bags are designed to carry long tools and such, a feature I happily utilized. All of the bags feature water-repellent zipper covers that close automatically. Straps on top allow a certain amount of compression of the bags if you left any space unfilled.
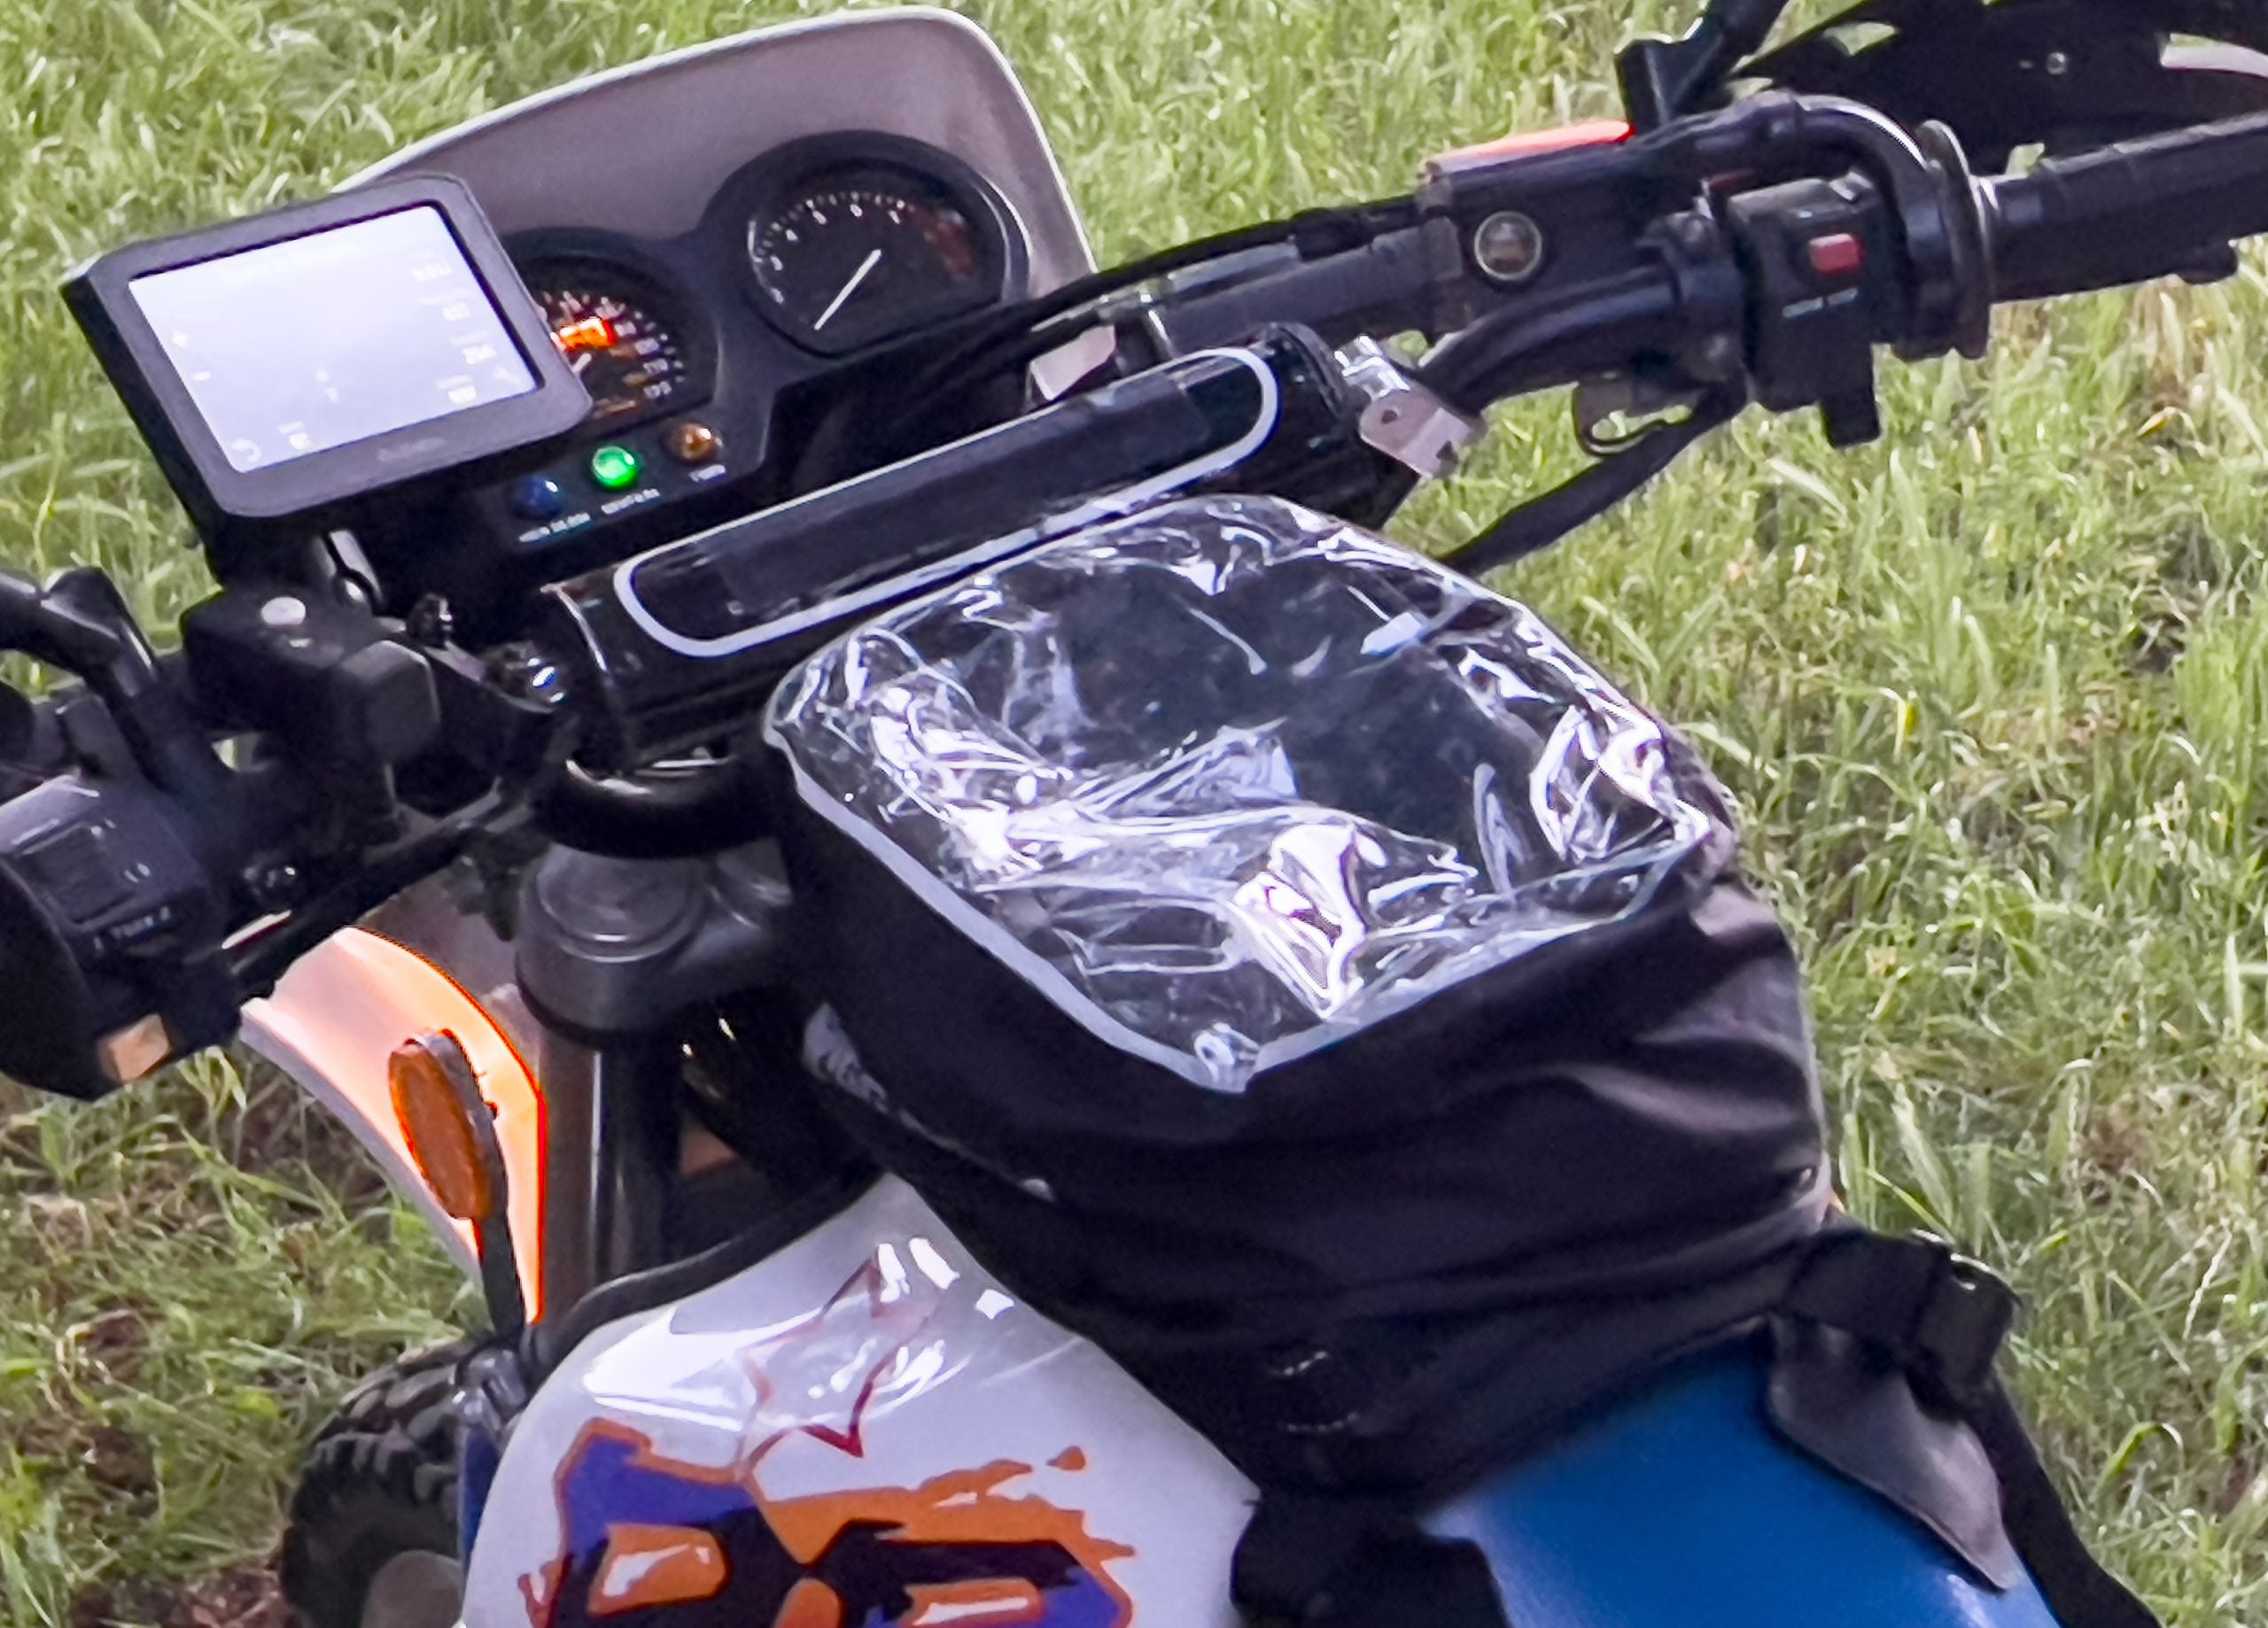
The rainproof cover on the tank bag came in handy on this trip – and several other outings. Photo: Bill Roberson
The tank bag is one of the smallest Nelson-Rigg offers, and while it does not have an expansion capability like the saddlebags, it still easily held a pair of thick winter gloves, a can of soda, some small bits like a washrag for my helmet visor, my wallet, sunglasses, and my phone in the top section with the transparent panel. It does not have side zipper pockets. A rain cover with a transparent top is also included with the tank bag and slips on easily while staying attached to the straps so it does not go AWOL. The tank bag has quick squeeze clips so it can detach or flip out of the way quickly during gas stops, but I clearly needed to spend more time figuring out how to keep it centered on the peak of the tank as it always wanted to slide to the right, but only a few inches. It must be perfect!!
The petite tail pack also lacks expansion capability but I still managed to stuff in a fair bit of kit, and thankfully, once cinched down, it doesn’t move a millimeter. Straps on the top and side eyelets allow for putting things on top of it, like a packed tent or other soft items. The saddle bags, tail pack and tank bag have carry handles but only the tank bag is quick-release. All of the straps for all of the packs include slack retention loops.
On The Road (and Off Of It)
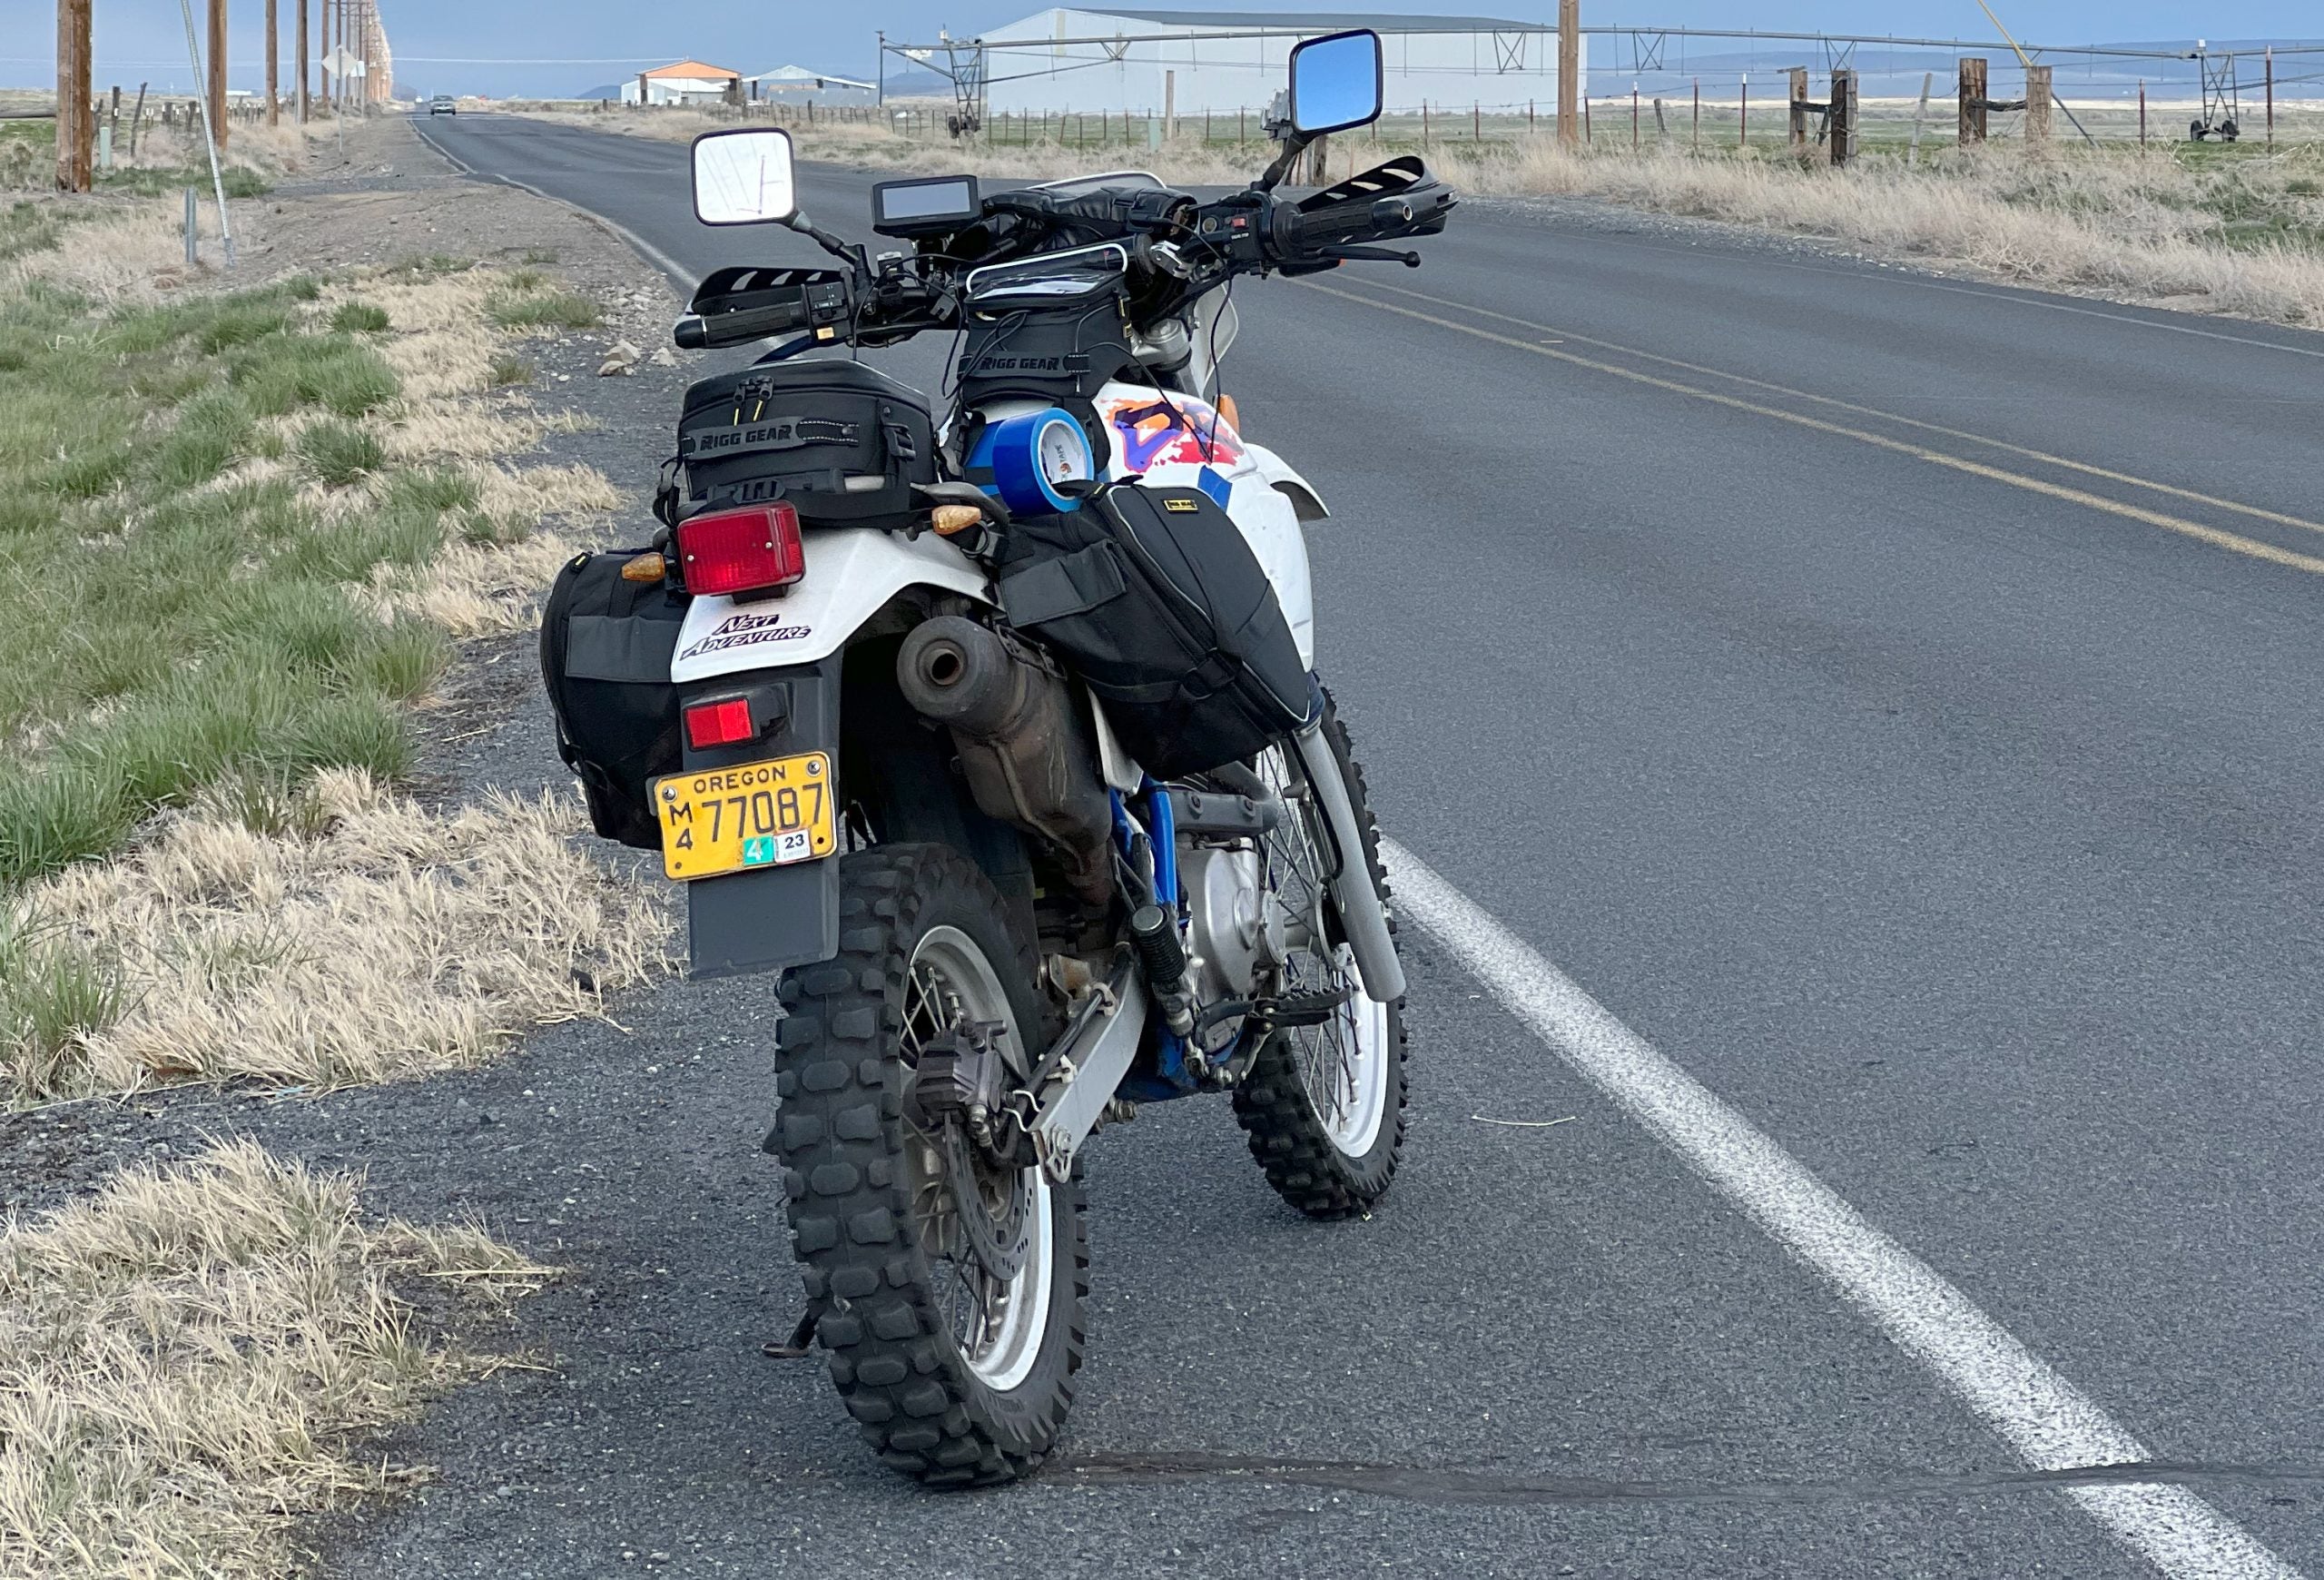
At high speed on open highways or banging down the trail, the Trails End bags stayed put, but careful setup is key. Yes, I always carry blue duct tape. Photo: Bill Roberson
Packed up and heading out, the light rain in Portland turned into a steady pelting as I crossed the northern city limit and headed towards Mt. Hood on Highway 26, one of a few highways that cross the Cascades Range and grant passage to the high desert region of Eastern Oregon, which is also known as the Oregon Outback.
When I left Portland, I was starting from an elevation of about 300 feet above sea level and it was around 50 degrees. As I rode through the foothill city of Sandy and crossed 1,000 feet, the temperature was closing in on 40 degrees and it began to rain in earnest, as it typically does as weather systems crash into the tall Cascade peaks. At tiny Welches, where Highway 26 begins to climb Mt. Hood, it was 38 degrees and still pouring rain. The DR’s knobby tires were throwing up sheets of water from the ponded water collecting in the long troughs worn into the highway by innumerable semis and cars climbing the grade, but my rain gear admirably fought off the deluge and kept me dry and warm.
Snug in my waterproof gear, so far the only issue with the Nelson-Rigg setup was the tank bag, which was scooching around on the gas tank like a restless child. I pulled over briefly and tried to secure in place as the raindrops clattered on my helmet. I got it to stay in place a bit better and also checked the other bags and they seemed very wet, but still very secure. Getting back under way, my attention more closely focused on my riding as the heavy rain had transitioned to wet, heavy and sticky snow, and I was still climbing in elevation.
Getting the bags into a position where they would not move backward on the DR650 involved some careful placing of traps. Note tank bag leaning to the right in this photo. Photo: Bill Roberson
Fortunately, I was nearing the crest of the pass as the snow began, and after passing by Government Camp and the Ski Bowl facility, I started heading downhill from the 4,000-foot crest. So far, the road had remained wet as the temperature was just above freezing, but I still proceeded with caution. Behind me but obscured by the weather was 11,250-foot Mt. Hood, getting its first coat of white as fall took affect in the PNW.
Heading down into the Warm Springs tribal area and larger central Oregon towns of Madras, Redmond and Bend, the snow turned back to rain and then quickly ended as I entered the “rain shadow” phenomenon common with the Cascades, which essentially strips the moisture out of the storms as they cross the mountains, making the eastern portion of the state quite drier than the western coastal strip. The temperature crept back up to about 50 and wet roads turned dry as I stopped for lunch in Prineville. It wasn’t the first time I’d hit snow on the way, but it was definitely the dampest iteration by a long shot. I peeled off onto little highway 31 and threaded through the towering fir trees and basalt fields of the area, climbing back up to 4,300 feet in elevation.
The last leg of the journey was a 35-plus mile blast down two graded gravel roads separated by a short highway stint. While the gravel sections are smooth overall, they are also well traveled (for rural Oregon), with no shortage of hills, potholes, washouts, mud puddles, ruts, cattle guards and some dirt sections. You don’t have to tiptoe through it, but you do have to pay attention and get out of the seat on a regular basis. It’s a ride I’ve done many, many times and always enjoy, but new hazards can and do crop up. Plus, there are a few critters—rabbits, random cats near farm boundaries, deer on occasion and lots of mice—that dart out from the shoulder now and again. Stay frosty, as they say.
After about six hours in the saddle, I arrive safely at my central Oregon destination, which is now part of the official Oregon BDR, coincidentally.
Aftermath
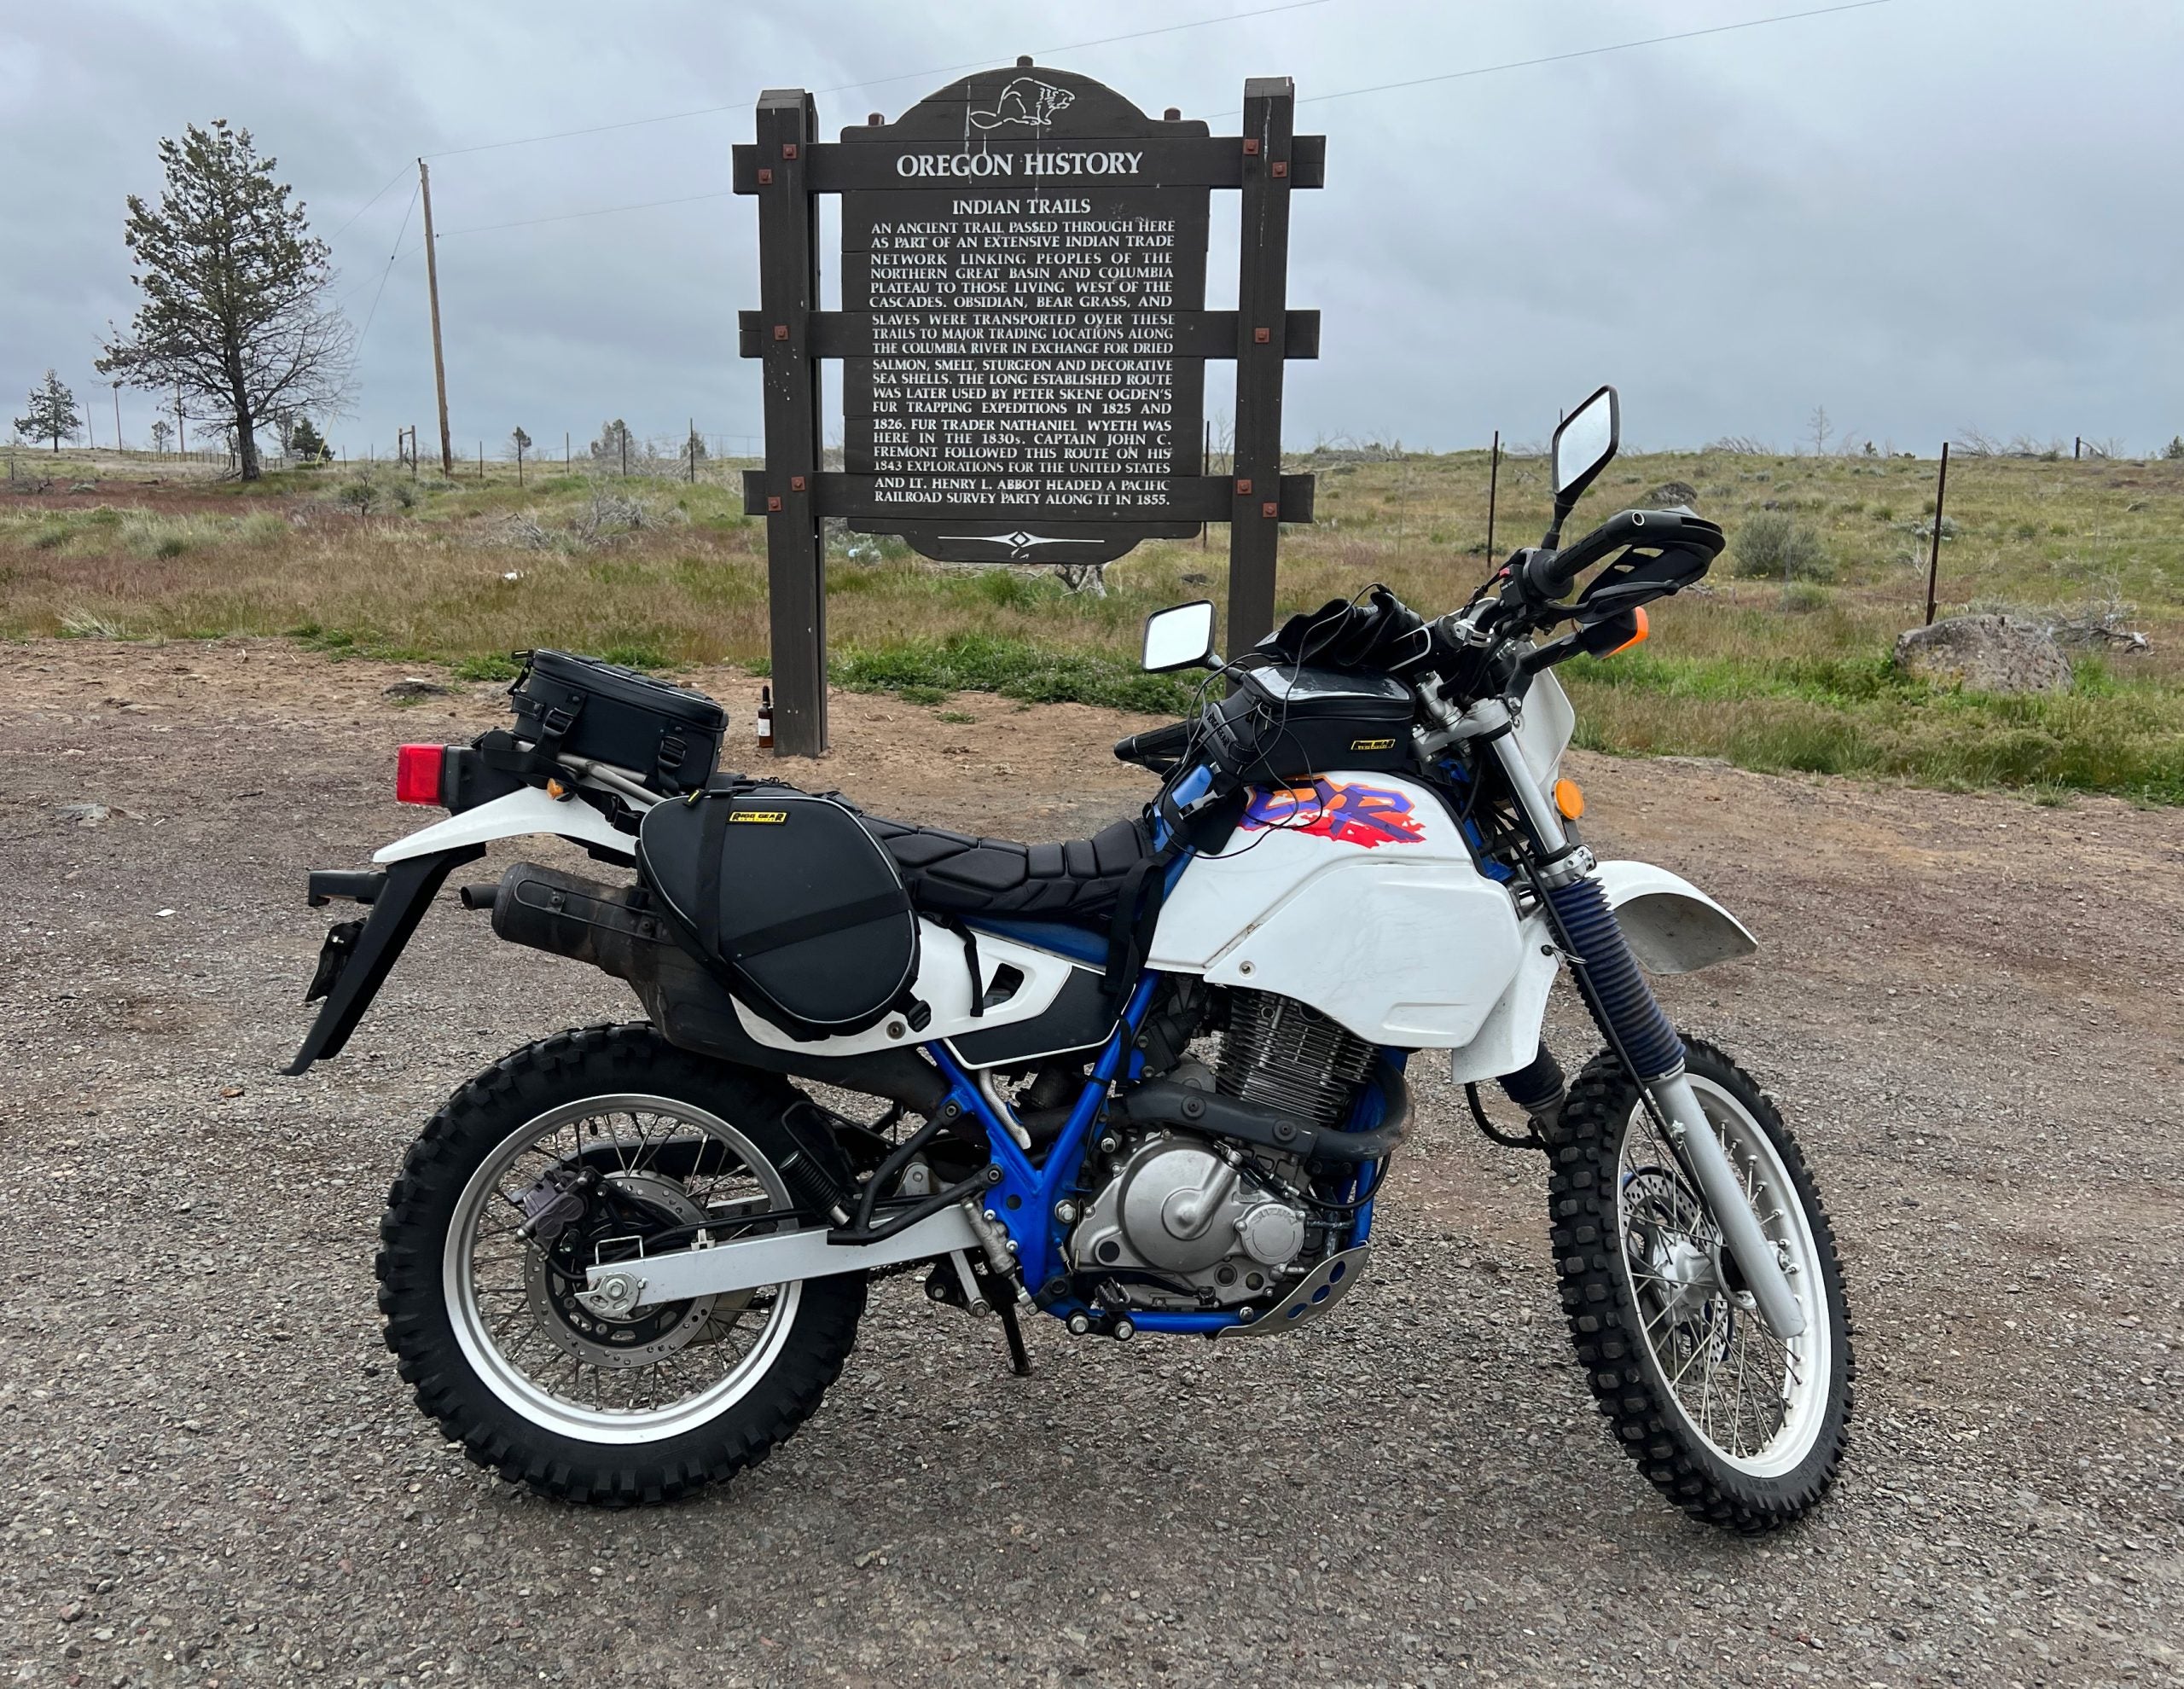
A quick rest stop along the Oregon Trail after getting throughly drenched coming across the Mt. Hood in the Cascades. Photo: Bill Roberson
Nelson-Rigg does not advertise the Trail’s End bags as waterproof. Unpacking, I found my clothes that bordered the bag’s interior boundaries were damp, but not soaking wet. Considering the ongoing drenching I put them through on the trip, I’ll count that as a win, but I’ll also be better prepared next time. The interior of the tank bag, protected by its plastic cover, remained dry, as did the inside of the tail pack, since it was out of the water blast zone the saddlebags had to endure. On balance, even though the bags are not “waterproof,” the amount of moisture that got in was minor and my clothes dried quickly in the dry desert air.
I’ve DIYed up my own waterproofing cover solutions that I keep in the underside tool pocket of the bags. So far, in the long term, the bags have held up well with no tears or other noticeable wear, despite a fair number of miles. And I like the expansion feature as it has saved me a couple of times when I picked up a bit more cargo during a ride. I recently replaced the DR’s stock tank with a larger Acerbis tank I nabbed while it was on sale, and while installing it I took time to really set up and snug down the tank bag, and it’s staying put so far.
During the course of this evaluation, Nelson-Rigg introduced the SE-4014 Hurricane Dual Sport Saddlebags, which appear to be essentially identical in features to the Trails End bags but include waterproof covers, provide 14-liter capacity per bag, a lighter-colored mid-panel and some top loops for strapping on more gear. They are almost the same prices as well at $179.99, and since they essentially cover the one substantial complaint we had with the Trails End setup, we recommend the Hurricane set for riders who expect to do a lot of riding in the rain. The Trails End version is still a good choice for anyone needing a set of light-duty day bags for an enduro-style dual-sport bike with no racks. Plus, they have a lifetime warranty. We hope to have a review of the Hurricane set in the near future.
On a budget? For the cost of some tank bags, Nelson-Riggs’ Trail’s End quartet of soft bags seem like a bargain – because they are. Just be aware they are not 100 percent waterproof and that setup takes time and patience, which is common with any good soft bag setup.