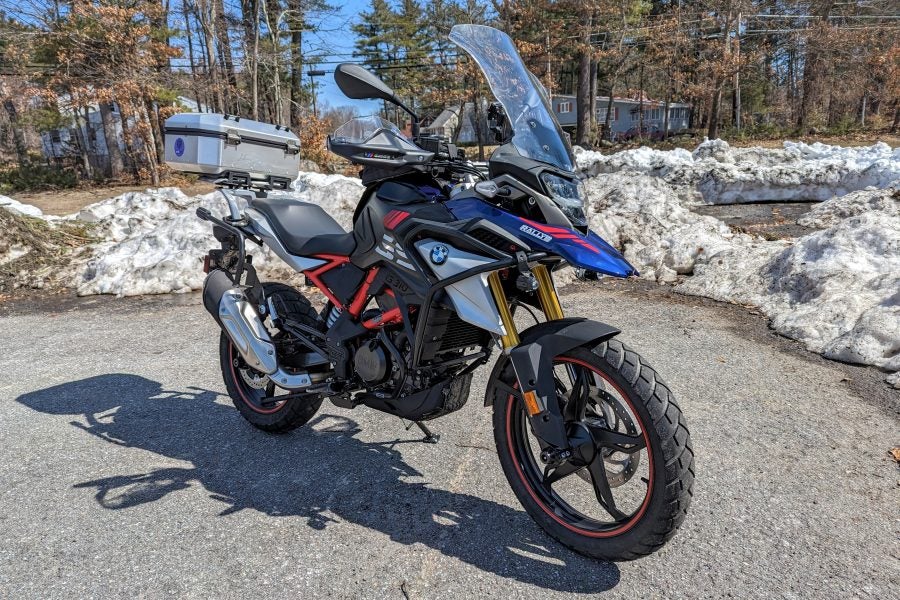
As part of the ongoing bolt-on upgrades for my BMW G310 GS, Wunderlich supplied us with a set of bar risers for the 310 GS ($73.95 for US customers—more details here). As with other parts I’ve installed on this machine, I had to buy tools in order to fit these bits. The G310GS might be a great bike for a beginner to learn to ride, but it’s at least a 200s-level bike to wrench on.
Tool Clearance Problems
The bar risers took me the longest to get bolted to the bike, because I didn’t own a tool that would reach up under the top triple, to secure the nuts and loosen the bolts that hold the bars on. Yes, you read that right: the handlebars are secured to the top triple with through-bolts. Any wrench I owned, got wedged underneath by frame, bodywork, forks, the horn, before it got a good grip on the nut.
Really Long Socket Extensions
Off to Harbor Freight, and I bought myself the longest half-inch drive non-wobble socket extensions they carried. With a foot and a half of extension, I could put a socket on that nut without running into bodywork, forks, or frame. One wrench above and one below, and the bars were loose. But then I had another issue.
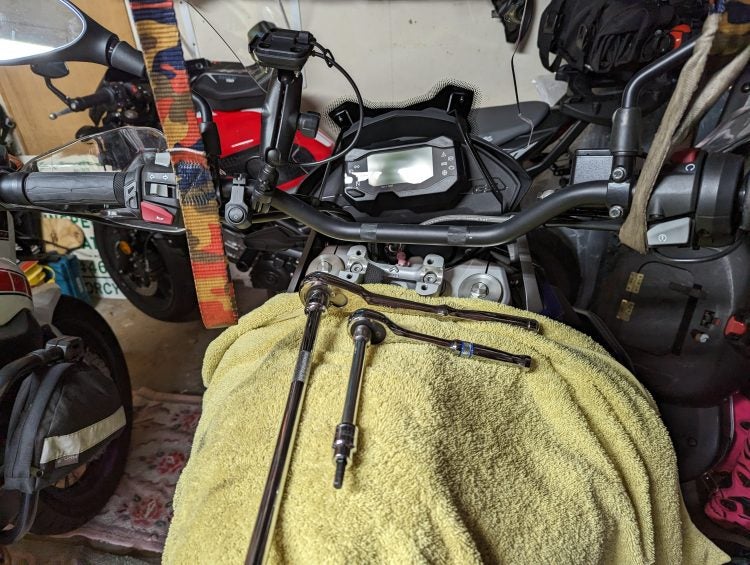
Really long socket extensions. Photo: Kate Murphy
Floppy Bars
The handlebars are floppy. Like, REALLY floppy. Once I got them loose them from the bike they just wanted to go everywhere. I couldn’t get them and all the cables up and out of the way for the riser install.
To keep from pinching anything, I ended up tossing some tie-downs over the garage ceiling rafters and suspending the bars from above. I used cam-buckle straps, so that I could fine-tune the height of the bars as I worked. Since I only have two hands I wanted to be able to loosen or tighten them very slightly.
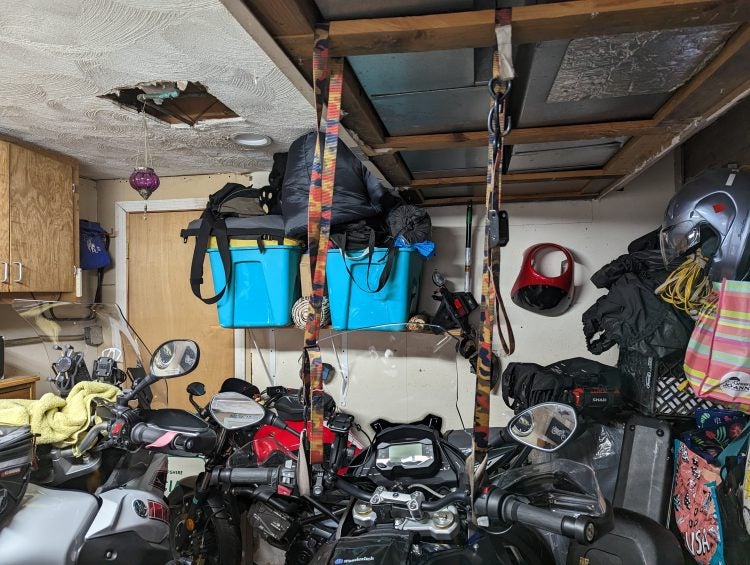
I wouldn’t trust these rafters to hold a bike up, but they’ll sure hold the bars up. Photo: Kate Murphy
Install the Risers
Once I got that whole process out of the way, the bar riser install was a relative piece of cake. Wunderlich supplies giant bolts (not the same size, though, as OEM, so make sure you have that socket at hand too) that go through the top triple, through the risers, and then into the lower bar bracket.
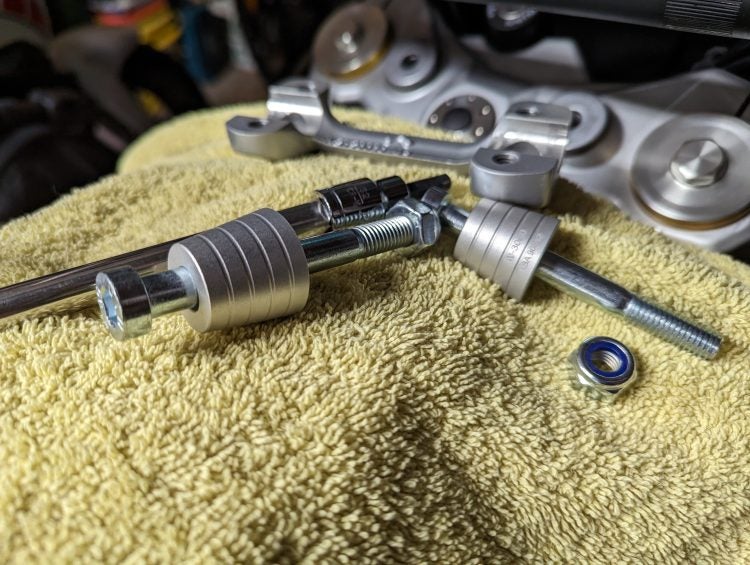
The bar risers, bolts, nuts, and the bike’s clamp, easy with the bars suspended. Photo: Kate Murphy
Snug those down. The nuts are nylock, so no worries about them coming loose anytime soon.
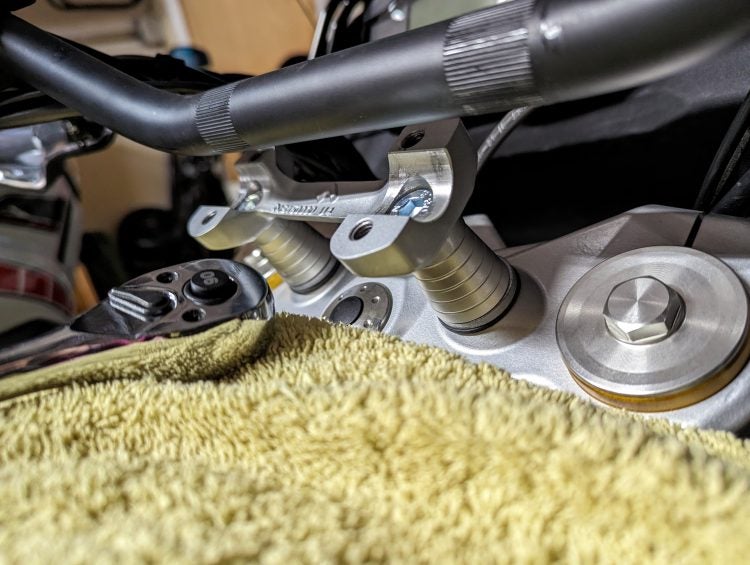
The risers bolt to the clamp on top and the triple below. Photo: Kate Murphy
Reposition the Bars
Then the fun of positioning and securing the bars themselves: you can mark the bars where they meet the clamp when you begin, but most likely you’re going to want them in a different place than when you started. That was my case. I tilted them back toward the seat just a skosh.
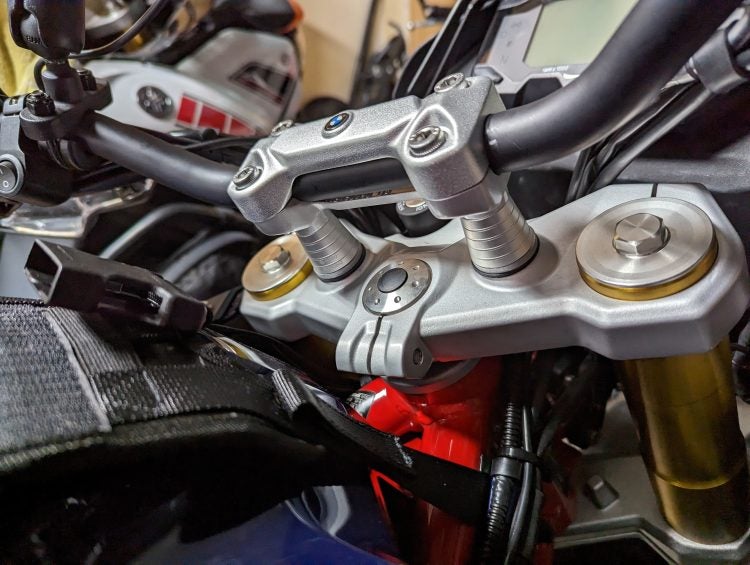
Let the suspended bars down a little, torque the bolts to spec… Photo: Kate Murphy
Check Your Clearances
Before torquing those to spec, I turned the bars lock to lock to make sure I had enough clearance in the cables to keep the risers on. Good news! Modern motorcycles seem to be a lot more forgiving about bar risers than the old ones we used to ride. Are manufacturers actually listening to us?
That lock-to-lock test did warn me that my mirrors are hitting my windshield at full lock. Instead of moving the bars from where I liked them, though, I loosened and repositioned the mirrors.
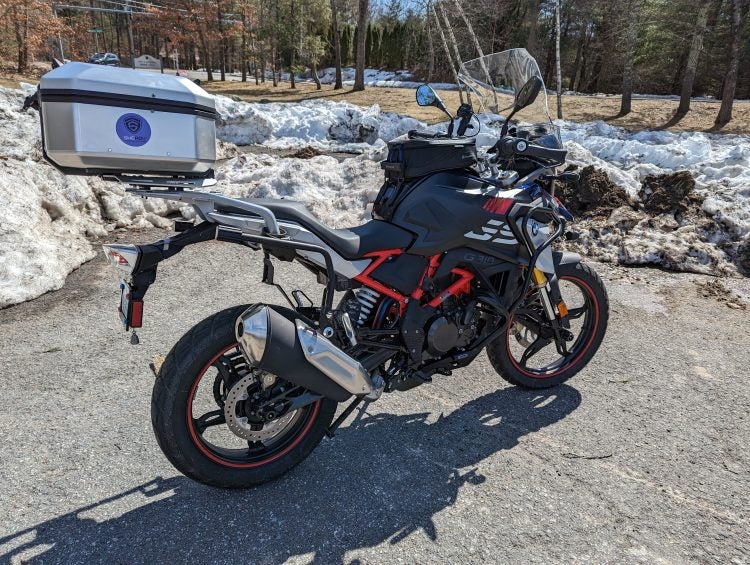
You wouldn’t think this small adjustment would have an impact but… Photo: Kate Murphy
Thanks, Wunderlich, for another quality upgrade. The risers have made a comfortable bike even comfier.


