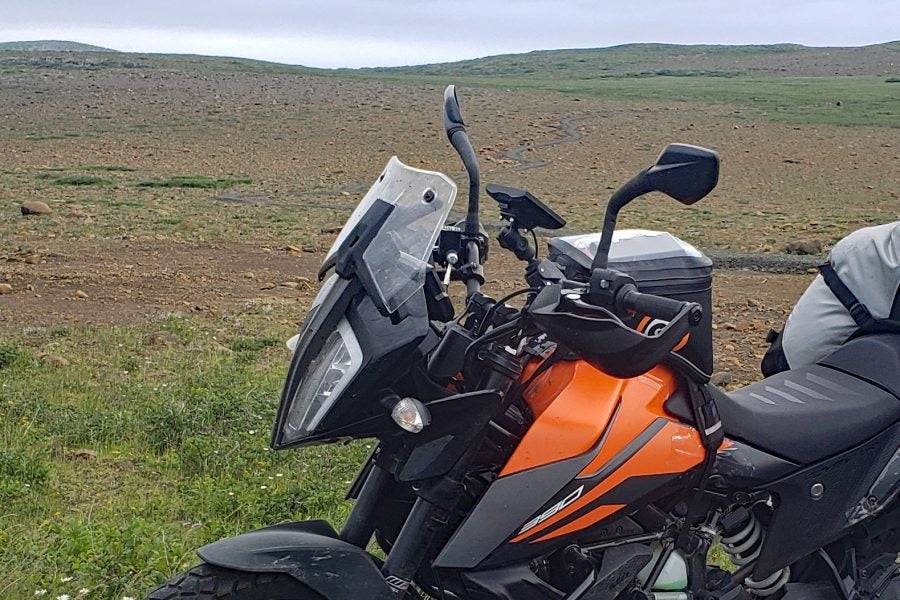
Photos: Kate Murphy, unless otherwise specified
A dedicated GPS mounted on your motorcycle dashboard can be a game-changer. Load it up with all the twisty little byways you’ve never explored, or pop in the published routes at a rally, and you can ride any area like you’re a local who knows all the best roads. If it’s motorcycle-specific, your GPS is waterproof, glove-friendly, anti-glare and won’t overheat like a smartphone, so it works all the time. Unfortunately, powering that GPS can be a bit of a pain.
Several Ways To Go
In the spirit of relative frugality, we will offer a quick primer on two ways to wire a GPS. First, a permanent install that turns off when the bike’s ignition is off. Another temporary install will be the next chapter, so that you can swap the GPS and mount from one bike to another, or loan it out. Please note that this permanent install is specific to a traditionally-wired bike, and does not apply if your motorcycle is powered through a CanBUS system.
These pictures are specifically of a Garmin Zumo XT mount, but the methods are applicable to any GPS or other electronics you’d like on your dashboard. The temporary mount necessitates a tank bag, since otherwise the wires would be dangling loose. I use RAM mount systems in all instances.
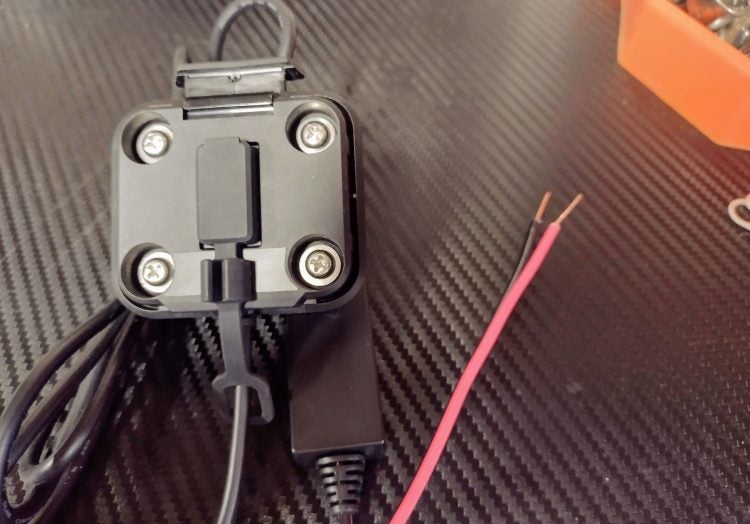
Garmin’s mount for the Zumo XT
Garmin supplies their GPS wiring with bare power ends, so you can connect whatever terminals suit your application. Depending on whether you use a distribution block, and what the design is like, a bare wire often works just fine.
First, a Permanent Install
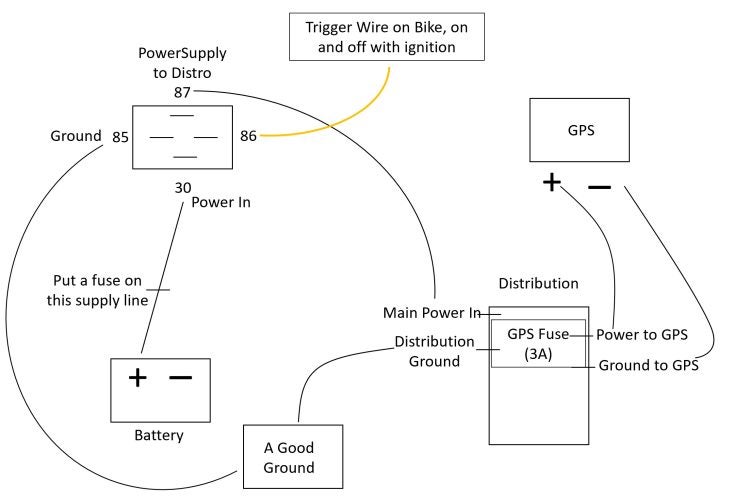
The permanent install involves a relay. The relay provides the power trigger. This is the functionality that powers the GPS on and off with the bike, so that you don’t have to remember to turn it off or unplug it. Using a relay means you don’t need to rely on a pre-existing wire in your motorcycle’s wiring harness to be your GPS’s power source. The trigger wire does what it says on the tin: when it is powered on, it triggers the relay to provide power from the battery to the GPS.
Finding a spot to mount the relay on the bike is perhaps the most difficult part of the procedure, and unfortunately not something I can help you with. All motorcycles are different. Often, you’ll be able to find a good spot under the seat, near the fuse box, or near the battery.
Always Put A Fuse Between The Battery And Your Stuff
Remember in all applications that fuses are important. If the motorcycle’s charging system gets overly enthusiastic for any reason, a fuse will prevent fire or overcharging damage. Make sure that you put a fuse on the wire that powers the GPS.
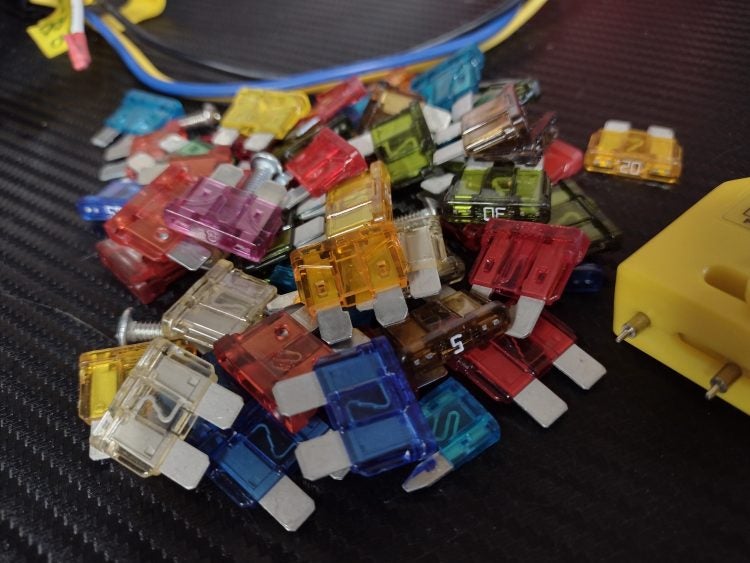
Power Distribution
I am a big fan of power distribution blocks. You can research your own here; Eastern Beaver makes great ones, and I have also found a fantastic tiny fused block sold by “daqstuff” on eBay. There are a lot out there; find the one that makes you happy. The point of the distribution block is, again, exactly what it sounds like. You supply power to the block, and the block then supplies your accessories. Each circuit powered by the block should have its own fuse, so you can tailor each fuse to the power needs of your accessory. Every distribution block will have a main power in, and a main ground. The rest of the connections are positive power out and ground, one each, for each of your applications.
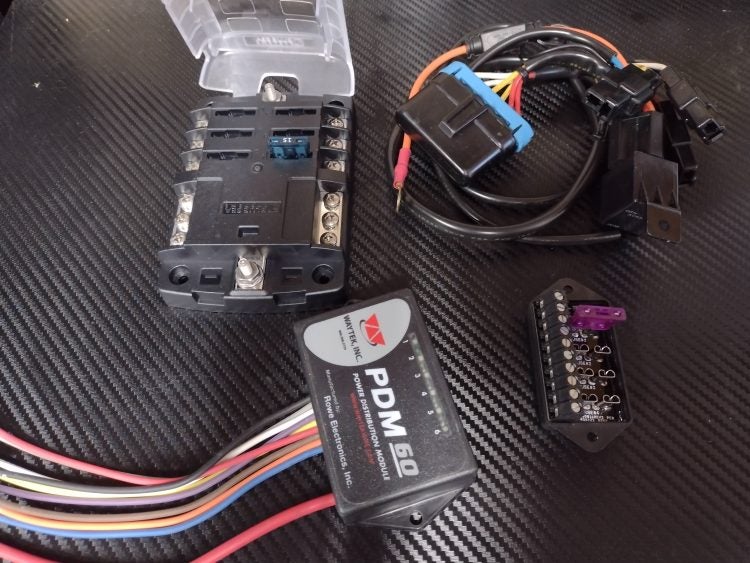
Here are four different flavors of power distribution. Choose your own adventure.
First, find a good spot to mount the relay on your bike, and make sure you have sufficient wire, terminals, and connection supplies. Then, find a good spot for the GPS mount on the bike, and run those wires to the power distribution block. You may have to add length here, so check in on the wire connection tutorial for that.
Don’t Let the Electrons Fall Out
Protect the wires as much as you can using a sheath or wire wrap. Run the wires under the tank, safely, preferably along the pre-existing harness. Do not leave them in places where they will get pinched by the tank or by moving parts. Use good zip ties along the length of the new wire to keep chafing to a minimum. Set everything in place before connecting anything to power. Make sure all wires reach their destinations with length to spare. Then, wire up that relay to power the distribution block when the bike is on.
This means:
- Main power from the bike’s battery to the #30 pin
- A reliably powered trigger wire to the #86 pin (the taillight is a great option to tap for this purpose)
- The fuse block’s power supply to the #87 pin
- A reliable ground to the #85 pin
The GPS positive wire then goes into an available slot in the power block, and the ground to its corresponding ground.
The Temporary Install
Now, for mobile, non-permanent GPS power! It won’t involve a fuse block or a relay, but does involve a tank bag.
Some people with multiple bikes go the expensive but easy route, and purchase a GPS and mount for each of their motorcycles to permanently install on each bike. I’m in the “many bikes but one GPS” camp, and while one mount, as above, is hard-wired onto my long-distance ADV bike, I bought a second mount to swap among the other motorcycles in my garage. This way I can pop my GPS onto whatever motorcycle I’m riding that day, or leave the mount off entirely for an electronics-free ride.
SAE Plugs Are Cheap and Easy
For this as-needed application, my terminal of choice is an SAE plug. All of my bikes are wired up for battery maintainers, which use that same SAE plug. I need to do nothing to the motorcycle to prepare it to power a GPS.
Keep in mind that your SAE pigtail must be fused. If your pigtail does not have an inline fuse, install one that does. Anything you plug into that connection will need a fuse between it and the motorcycle electrical system. It may have a 7.5 amp fuse already installed, but for a GPS you’ll want to replace it with a 5 amp or even something smaller, which will also be fine for your battery tender. The GPS only needs a 3 amp.
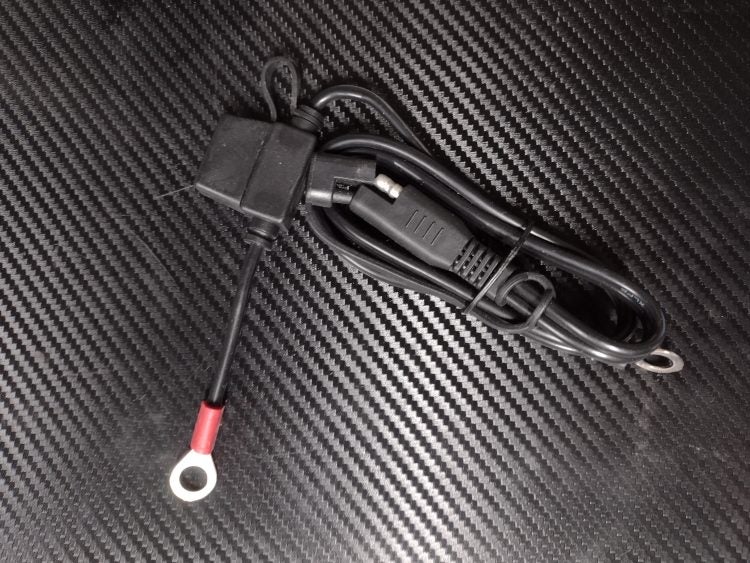
The fused SAE pigtail that comes with every battery tender
You can find SAE plugs in your local department store or hardware store that also sells towing supplies. You can also find them online. Often they’re set up as extensions, so you can just cut the wires and solder that SAE end onto your spare GPS wiring harness.
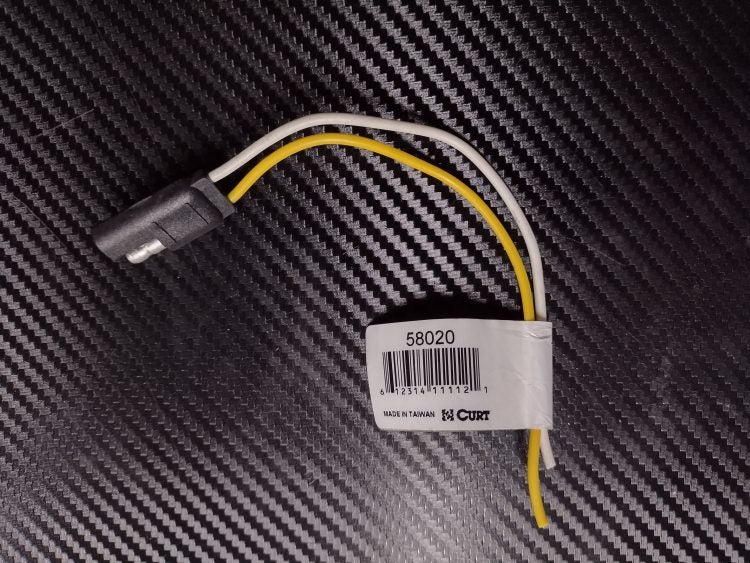
Please note: the battery tender SAE pigtail positive side is always the “protected” (female) side. Make sure to wire the GPS so that its positive supply comes from the male end of that SAE plug. This may sound ridiculously obvious but it is worth mentioning. We all make dumb mistakes.
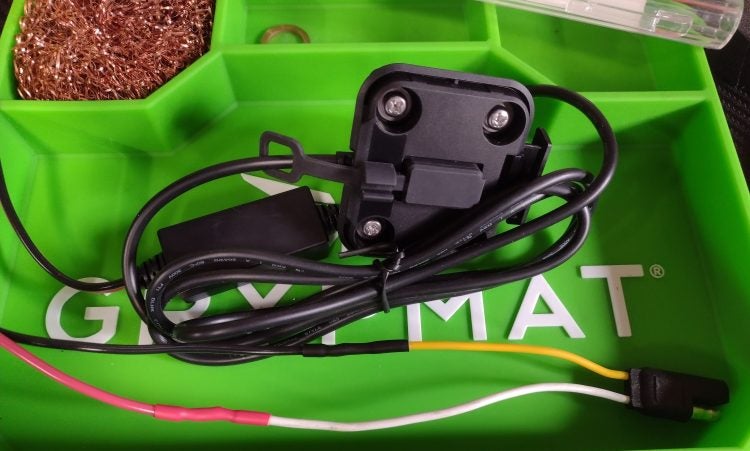
Solder the wires staggered so bare wires never have a chance to chafe
Refer to the soldering training video in this article if you need a refresher. Remember to string some adhesive-lined heat-shrink tubing onto the wires first, and then wrap them up after they’ve been heat-shrinked. This way, the soldered joint and its surrounding wires are never under any strain.
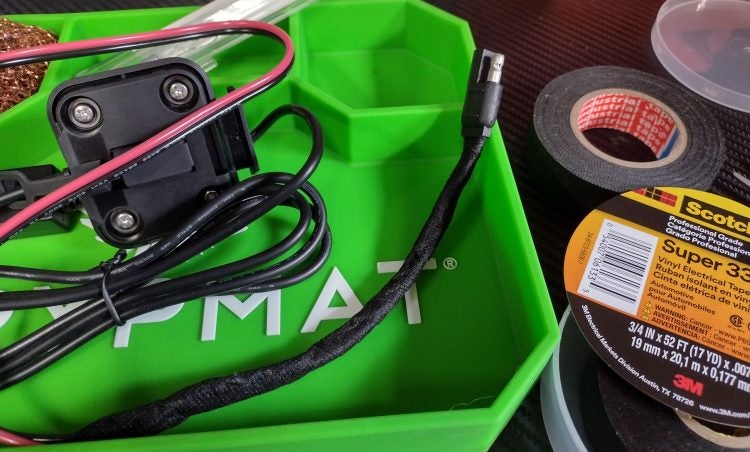
I go the extra mile and double-wrap my wires for extra chafing and stress protection.
Mount the GPS to the bike, and run the wire into your tank bag. If your tank bag doesn’t have a “wire out” hole, you can create one. The wire then plugs into the SAE pigtail, and you are done.
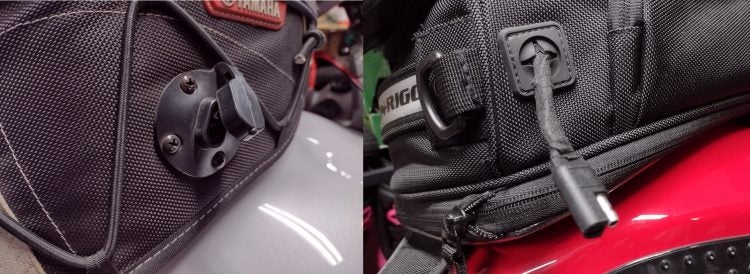
If your tank bag doesn’t have a wire pass-through, you can buy a kit for that.
Remember that your tank bag is now attached to your GPS. This is kind of a pain at gas stops, but it means you can detach the GPS from your bike with your quick-remove RAM mount, and toss it in your tank bag. This way it is in much less danger of being stolen.
How have you wired up your GPS? What’s your favorite method, or your preferred distribution block?


